Last month, I was introduced to a Swedish torch fire by my friend Jan. I was impressed by how simple it was to execute, the way the fire burned and wanted to share what I learned about with others interested in these types of skills/knowledge.
Here's a diagram I did on scratch pad.
1) Is the aerial view of how you'd make cuts on the log. Jan told me to use a dry wood.
2) He used a chainsaw to cut the log. This view shows the side cut.
Add tinder to the top. We used saw dust shaving.
Light it. It may take a few rounds of the saw dust.
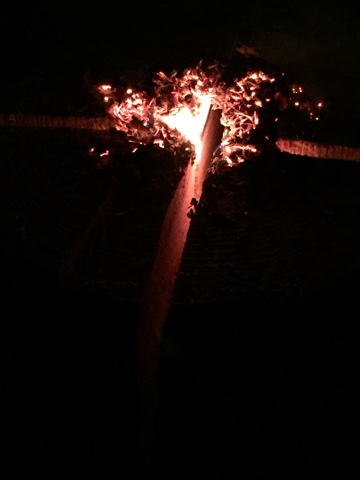
Key is you want the fire to begin to flame the center. Once that starts then you just let the burn do its thing. It burns down.
So it starts to burn the top center
The wind started to pick up and it was starting to be a challenge to keep the flame alive. This was my idea to create a barrier with aluminum foil to create a wall around the fire. It worked!
We let the fire do its thing
Fire making smiles. I love learning something new!
After a while we added steak in a cast iron skillet. Fit perfectly on top.
Steaks were great!
The wind this night making the fire dance. We made sure to monitor it.
Look at how this burned down the center
Another view of fire burning the center.
Keep watch, with any fire. Eventually the sides collapsed.
The fire lasted hours.
Here's a good simply put article about how to do a Swedish torch
I look forward to trying this again on some cool outing. So glad I became aware of it, as its another great concept to know for the mental files.
Happy & Safe Adventuring, Always!


Good Stuff! Thanks for sharing.
ReplyDelete